I have pinned at least 6 different types of these melted crayon projects on Pinterest. I decided to try out make one in real life today. Then I thought I would go ahead and make it into a tutorial! I mean I was making it already and I had my iPhone!
Start with at least 20 crayons. The colors are up to you. I of course chose to do rainbow colors!
Strip the crayons of their paper. Some are easier than others.
Here is one of the easy ones!
I tried putting the crayons on my canvas, but I realized I wouldn't have much room for the melting run-off. My canvas is a 12"x12" from Hobby Lobby.
I cut each crayon to 2.5 inches!
Here are all the discarded wrappers. Anybody have any ideas about using this paper.
I used a flashlight as a guide for the circle in the middle
I tried gluing the crayons down with the flashlight still in the middle, but all I ended up doing was gluing the crayons to the flashlight. When I tried to pull up the flashlight half of my crayons came up too..... WHOOPS! I think a light pencil line would be fine next time around!
In the end it they still ended up glued to the canvas. Now to add heat!
Careful with the melting. I got the crayons melting before tilting it up. I also kept the hairdryer on the low setting.
I also worked on small sections and then I would turn the canvas so I wouldn't keep melting the other crayons
How much you allow the crayons to run is entirely up to you. I like my canvas drenched in color (surprise, surprise).
Here is the finished product.I feel the need to say TAHDAH!!! It makes me smile when I look at it.
Here is my heating tool. Just a simple cheap hairdryer with a Hi and Low setting and a cold button!
So there you go. If I left anything out...ask me what I did. I might remember....heehee! To the moon and back my friends, Sarah
I am enjoying all this time I have...for the first time since I graduated college....I can make the things I see in my head...or on pinterest. So here is another one.
Step one...buy stiff felt...since I decided to make Christmas trees I used dark green and yellow for the stars in between.
Step two...using a disappearing ink pen trace trees onto the green felt, and stars onto the yellow. Cut out all the pieces. If anybody has any ideas for how I can use the scraps please let me know. I can't make myself throw out the remnants.
Step three...I started out punching tiny holes in the trees, but once I added the beads they didn't show through like I wanted. So...just use a regular hole punch to make ornament holes in the trees. I left the small holes at the edge of the second branch for stringing. Use the small punch to make holes for stringing the stars also.
Step four...buy felt glue. Any other glue will just be sucked into nonexistence by the felt. This glue works really well. Glue around the opening and place a clear bead in the opening.
I enjoy all things multicolored so I used multicolored beads. If you have a more monochromatic style choose whatever color beads you want.
Step five...use twine to string the trees and stars together. It took five trees and six stars to reach across my mantle. You can adjust the space between trees and stars based on where you want to put them and how many trees and stars you want to cut...punch...bead and string.
Here is the finished garland on my mantle. Fun and simple...
Please excuse the personal goodies in the background, but I couldn't wait to put it up.
Step One - Visit your local home improvement store, and pick up a few paint chips. I know they put these out for people to take, but I still have trouble taking them without feeling like a thief. That doesn't stop me though! I picked up a slew of different fall and harvesty colors.
Step Two - cut each sample down to 1 inch strips. The Behr samples I got at Home Depot are five inches so they cut down nicely and evenly...I hate needing to do math. Then if you are a control freak as I appear to be...lay out the color scheme as you want it to look in the garland.
Step Three - Choose the first color and put a piece of tape on the lightest color, then bring the darker color around and make a circle.
Step Four - I chose to link two of the same color together, so no color would be lost in the garland. Thread another strip through the circle you just made, and tape it closed. Continue with this step until the garland is the length you want!
Step Five - To create the leaf embellishment in the center of the garland...turn over one of the paint chips. I free handed these leaf shapes, but if you want there are tons of leaf templates to be found on Google images.
Hint! Make sure you either have wrong sides or right sides facing each other or you have 2 leaves that cannot be put together with the color swatch on the outside. OOOOPS!
Step Six - After cutting the leaves out the right way (way to go me)! Attach double stick tape in the middle and put the leaves together.
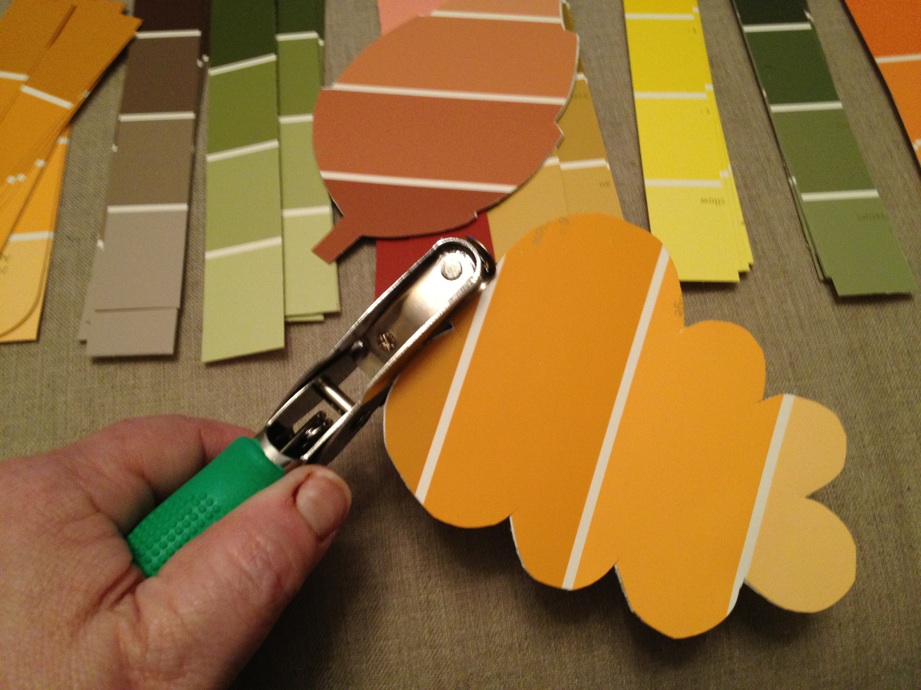
Step Seven - Use a small hole punch to create a hole in the stem of each leaf.
Step Eight - Add a twine string between two leaves. This way they will hang nicely in the center of the garland
Step Nine - I can't show this step in real life...but once the garland is tacked up in the middle. ..wrap the twine around the tack and shift the leaves up or down to your liking.
Finished garland and my very decorated hearth area.
I wanted to share this tutorial because I was seeing this type of wreath pinned over and over on pinterest and I had a blast making several of them for different family members. I added the turkey myself, but other than that I think it is very much like the inspiration piece. Also, FYI...I am new to making tutorials so I don't have a picture of each step. Once I start working I sometimes forget to snap a picture of what I did...OOPS! Well...let's get started
Step 1 - Cover a wreath form in yarn. This one was 12"...but I did a 10" for Halloween and a 14" for a family member. I think all of them turned out fine. The 14" looked a little thin, but overall was alright. I wrapped first with some brown yarn I had leftover to fill out the form a little and then wrapped around that with a marbly green (lots of shades of green, some red and even a little brown). The original brown is peeking through, but I really liked the way that looked.
Step 2ish - Cut a piece of felt into eighths. I used regular felt from the craft store, but I have ordered some better quality felt and I do like the colors of the higher quality felt. there are SOOOOOO many choices. After cutting the felt find a pencil or other cylindrical object (mine is a pinwheel stick). Wrap the felt around the stick. I wrapped a little asymmetrically to make each piece look a little different.
Step 3 - Put a bead of hot glue down the outer edge of the felt and then roll it onto itself. I found this is the best way to avoid burning the bejeesus out of your fingers. After rolling it up pull it off the pencil or pinwheel stick.
Step 4 - repeat steps 2 and 3 about a gajillion times...until you have a healthy pile of felt rollups. I used 10 colors and did at least 4 roll ups of each color. I had 6 rollups left when I finished the wreath. I really just added this picture because I liked all the colors together.
Step 5ish - This is where I left out a few pics. I started with three felt rollups on each side of the wreath . I'd say I left about a quarter of the yarn wrapped wreath showing at the top. After that I started adding rollups down the left side. There really isn't any method to my madness. I just add any color I wanted trying not to have any of the same colors touching. If you use fewer colors it really isn't any big deal if they touch.
Step 6 - Repeat on the other side. I didn't bother covering all the way to the center, because I knew I would be adding the turkey at the center.
Step 7ish - Cut another 2 pieces of felt into fourths hot dog style (meaning fold the felt long ways before cutting). this way you end up with four long pieces. Put a bead of hot glue down the long edge and then fold the felt over on itself. I forgot a picture of the first two parts, but you end up with eight long teardrop pieces of felt. The two orange pieces are for the turkey's feet. If you are not making a turkey, all your pieces can be the same color or you can mix up the colors.
I forgot to take any pictures of the turkey assembly. I hope to get better at this. Take each felt teardrop and make a felt flower. Here is a YouTube tutorial of the process...it shows how to make three flowers, but the first one is how I make the turkey.
After making all the felt pieces into flowers I glued them into the middle of the wreath where the rollups come together. this makes a great fluffy pom body for the turkey. You can't see it in the final picture, but I glued the orange flowers to the bottom to make the turkey feet.
Final step - make the turkey head. Again no pics of the step by step...sorry. I took a scrap of brown felt folded it in half and cut out a head shape...that way I had a way to put a pipe cleaner int he middle so the head will stand up. I made the turkey neck about 4 inches long so I would have plenty of room to adhere it to the wreath. I put the pipe cleaner in the middle and then glued the two pieces together. then I used more felt scraps to create the beak, waddle and eyes. My dad really thinks he needs google eyes, but I didn't have any so I made a google looking eye out of felt.
So....I hope that was tutorially enough. I have another one to post later about how to make felt hair embellishments. I think I might have stepped over into the crafty abyss...felt is my new pest friend. Oh well...this turkey makes me insanely happy. I am so glad that tiny things like this make me so happy. Not hard to turn a bad day around when roughly 13 pieces of felt and some yarn can make a person giddy! Have a great day!
I recently bought the newest copy of Better Homes and Gardens "Do It Yourself" Magazine. I found lots of really cool projects to try...but I could wait to try the pop art portrait project (Trying saying that 5 times fast). Basically artist Michele Beschen walks you through how to use a favorite photo and Warholize a friend or family member. I started with this picture of the Lovebug and her "Fairy Godmother" aka Candice...my best friend. She and the Bug share a birthday so we usually try and get together around their birthdays. We took this picture after building a gingerbread house together. It is one of my favorites of both my girls.
aren't they adorable!
The article and linked video tute on http://www.borganic.net/videos.php?video_id=96 say to be sure and use no smaller than an 8x10 photo. I agree with this, but I only had glass for a 5x7. When I do this for my puppy I will make sure to use a larger photo. It took me several tries to get this right and I think if I had been using a larger piece of glass and photo it would have been much easier. Step One...use painter's tape to adhere the photo to the back side of the glass. Step Two...choose your paint. You will only need 2 colors (white and whatever other color you want) Step Three...mix up 2 mid shades. white...light...medium...original color (I used teal). Step Four...find the smallest detail brush you own. This was one of the problems I had...I ended up trimming some of the hairs out of my smallest detail brush to make it even smaller. Using this brush fill in all the brightest spots and white parts of the photo (teeth...whites and sparkles in the eyes, etc.)
those are some pearly whites!
Step Five...be patient,,,YOU MUST WAIT FOR THE WHITE TO DRY COMPLETELY Step Six...Use the deepest shade (teal for me) to trace around all the main features in the photo. Go around the face...use whispy strokes for the eyebrows, eyelashes, and hair. Wait for this to dry.
This step is hard to judge so lift up to check your work often.
Step Seven...use the light mixture of the two colors to dab over the dark lines from the previous step. This is like a highlighter. Do not fill in all the space or your face will end up looking flat. Cover the brightest parts left in the photo. Be sure and use a dabbing motion or you might pull off some of the previously painted details. Wait for thie to dry COMPLETELY...are you getting the hint?
Goodbye odd darkly lines faces.
Step Eight...Use the medium mixture and a large brush if you have one. Again dab with this paint. Cover the rest of the glass with this tone This will fill in any shading still needed on the face. It might not look identical to the photo..but it should be close. I think the Bug looks pretty close...the bestie is a little off, but still cute. I had a great time doing this even though I had to do it 3 times.